
In this blog entry I’m going to detail the exact configuration and cover in some additional details the collateral resources you can expect to find once the configuration is executed against with Terraform. For the repository to this write up, I create our_new_world available on Github.
A lot of this material I wrote about with Setting up a GCP Container Cluster - Part I and Setting up a GCP Container Cluster - Part II. I had started on a Part 3 around setting up Drone.io on a Kubernetes/GCP Container Cluster but stopped midway through with other demands. This post is a more up to date post of all those things plus more. With this post completed I’ve stepped back into getting Drone.io setup and am now finally finishing that blog entry! #win!
First things first, locally you’ll want to have the respective CLI tools installed for Google Cloud Platform, Terraform, and Kubernetes.
- Install the gcloud CLI and get it configured with gcloud init
- Install the latest Terraform
- With gcloud CLI installed you can then easily install kubectl with
gcloud components install kubectlcommand.
Now that all the prerequisites are covered, let’s dive into the specifics of setup.

If you take a look at the Google Cloud Platform Console, it’s easy to get a before and after view of what is and will be built in the environment. The specific areas where infrastructure will be built out for Kubernetes are in the following areas, which I’ve taken a few screenshots of just to show what the empty console looks like. Again, it’s helpful to see a before and after view, it helps to understand all the pieces that are being put into place.
The first view is of the Google Compute Engine page, which currently on this account in this organization I have no instances running.

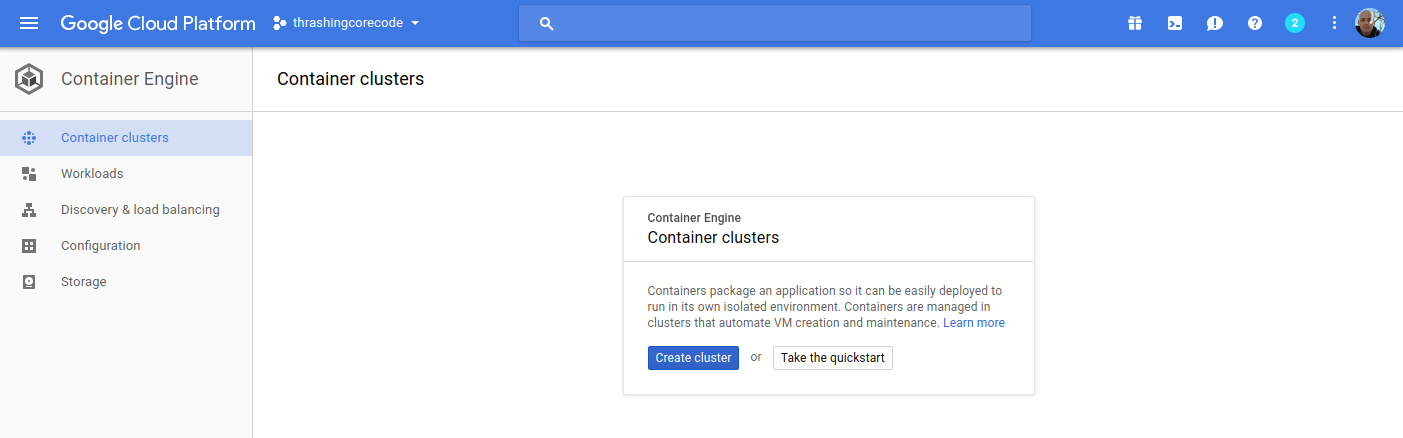
This view shows the container engines running. Basically this screen will show any Kubernetes clusters running, Google just opted for the super generic Google Container Engine as a title with Kubernetes nowhere to be seen. Yet.
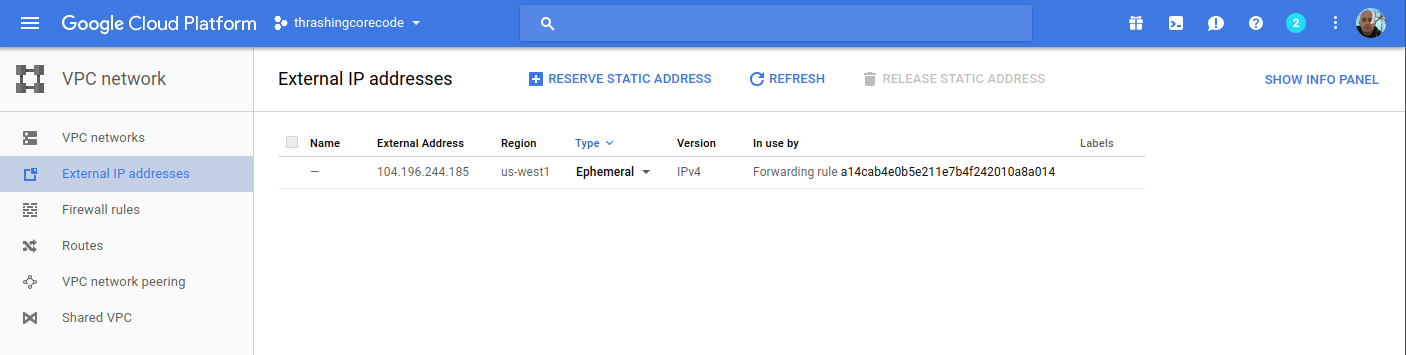
Here I have one ephemeral IP address, which honestly will disappear in a moment once I delete that forwarding rule.
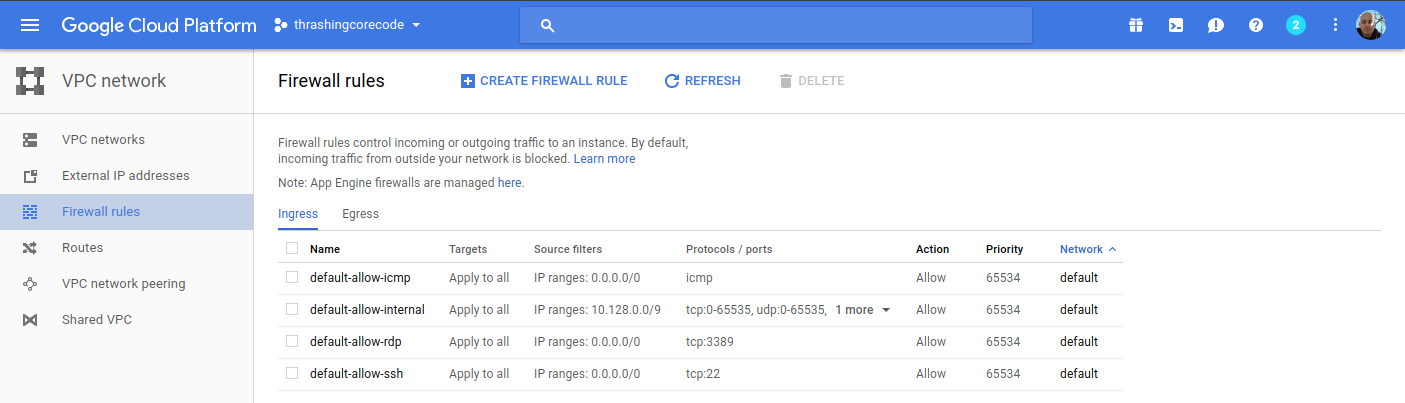
These four firewall rules are the default. The account starts out with these, and there isn’t any specific reason to change them at this point. We’ll see a number of additional firewall settings in a moment.
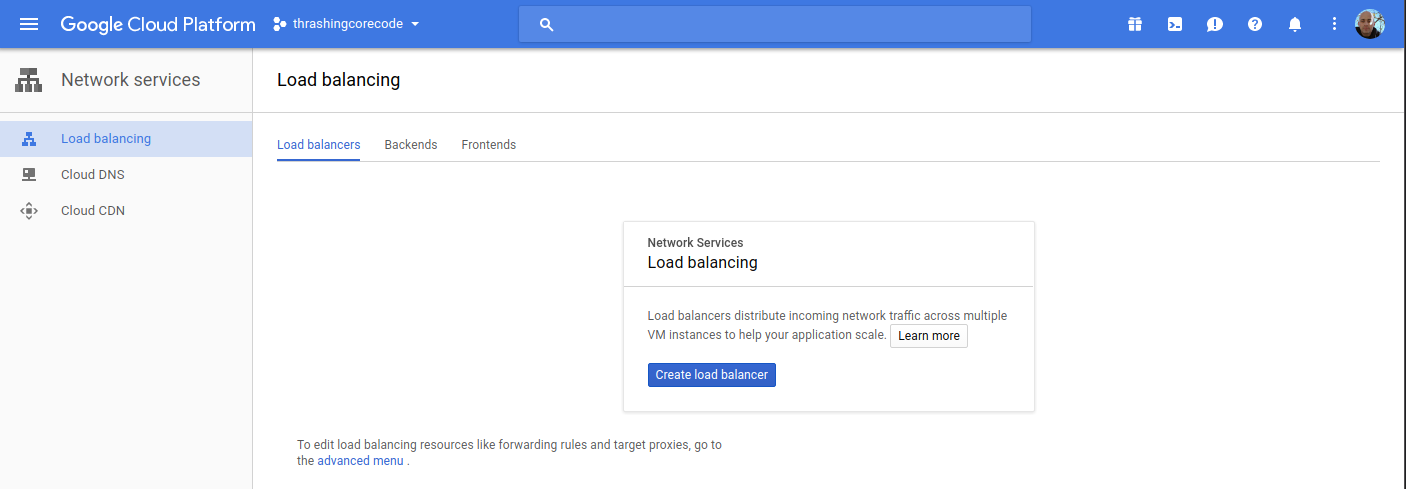
Load balancers, again, currently empty but we’ll see resources here shortly.
Alright, that’s basically an audit of the screens where we’ll see the meat of resources built. It’s time to get the configurations built now.
Time to Terraform Our New World
Using Terraform to build a Kubernetes cluster is pretty minimalistic. First, as I always do I add a few files the way I like to organize my Terraform configuration project. These files include:
- .gitignore - for the requisite things I won’t want to go into the repository.
- connections.tf - for the connection to GCP.
- kubernetes.tf - for the configuration defining the characteristics of the Kubernetes cluster I’m working toward getting built.
- README.md - cuz docs first. No seriously, I don’t jest, write the damned docs!
- terraform.tfvars - for assigning variables created in variables.tf.
- variables.tf - for declaring and adding doc/descriptions for the variables I use.
In the .gitignore I add just a few items. Some are specific to my setup that I have and IntelliJ. The contents of the file looks like this. I’ve included comments in my .gitignore so that one can easily make sense of what I’m ignoring.
# A silly MacOS/OS-X hidden file that is the bane of all repos.
.DS_Store

# .idea is the user setting configuration directory for IntelliJ, or more generally Jetbrains IDE Products.
.idea
.terraform
The next file I write up is the connections.tf file.
provider "google" {
  credentials = "${file("../secrets/account.json")}"
  project     = "thrashingcorecode"
  region      = "us-west1"
}
The path ../secrets/account.json is where I place my account.json file with keys and such, to keep it out of the repository. For more on this practice check out my post Quick Start Connections With Terraform and Kubernetes and Working With Google Compute Engine (GCE) using Terraform (with a load of Bash Scripts Too) posts.
The project in GCP is called thrashingcorecode, which whatever you’ve named yours you can always find right up toward the top of the GCP Console.

Then the region is set to us-west1 which is the data centers that are located, most reasonably to my current geographic area, in The Dalles, Oregon. These data centers also tend to have a lot of the latest and greatest hardware, so they provide a little bit more oompf!
The next file I setup is the README.md, which you can just check out in the repository here.
Now I setup the variables.tf and the terraform.tfvars files. The variables.tf includes the following input and output variables declared.
// General Variables

variable "linux_admin_username" {
  type        = "string"
  description = "User name for authentication to the Kubernetes linux agent virtual machines in the cluster."
}

variable "linux_admin_password" {
  type ="string"
  description = "The password for the Linux admin account."
}

// GCP Variables
variable "gcp_cluster_count" {
  type = "string"
  description = "Count of cluster instances to start."
}

variable "cluster_name" {
  type = "string"
  description = "Cluster name for the GCP Cluster."
}

// GCP Outputs
output "gcp_cluster_endpoint" {
  value = "${google_container_cluster.gcp_kubernetes.endpoint}"
}

output "gcp_ssh_command" {
  value = "ssh ${var.linux_admin_username}@${google_container_cluster.gcp_kubernetes.endpoint}"
}

output "gcp_cluster_name" {
  value = "${google_container_cluster.gcp_kubernetes.name}"
}
In the terraform.tfvars file I have the following assigned. Obviously you wouldn’t want to keep your production Linux username and passwords in this file, but for this example I’ve set them up here as the repository sample code can only be run against your own GCP org service, so remember, if you run this you’ve got public facing default linux account credentials exposed right here!
cluster_name = "ournewworld"
gcp_cluster_count = 1
linux_admin_username = "frankie"
linux_admin_password = "supersecretpassword"
Now for the meat of this effort. The kubernetes.tf file. The way I’ve set this file up is as shown.
resource "google_container_cluster" "gcp_kubernetes" {
  name               = "${var.cluster_name}"
  zone               = "us-west1-a"
  initial_node_count = "${var.gcp_cluster_count}"

  additional_zones = [
    "us-west1-b",
    "us-west1-c",
  ]

  master_auth {
    username = "${var.linux_admin_username}"
    password = "${var.linux_admin_password}}"
  }

  node_config {
    oauth_scopes = [
      "https://www.googleapis.com/auth/compute",
      "https://www.googleapis.com/auth/devstorage.read_only",
      "https://www.googleapis.com/auth/logging.write",
      "https://www.googleapis.com/auth/monitoring",
    ]

    labels {
      this-is-for = "dev-cluster"
    }

    tags = ["dev", "work"]
  }
}
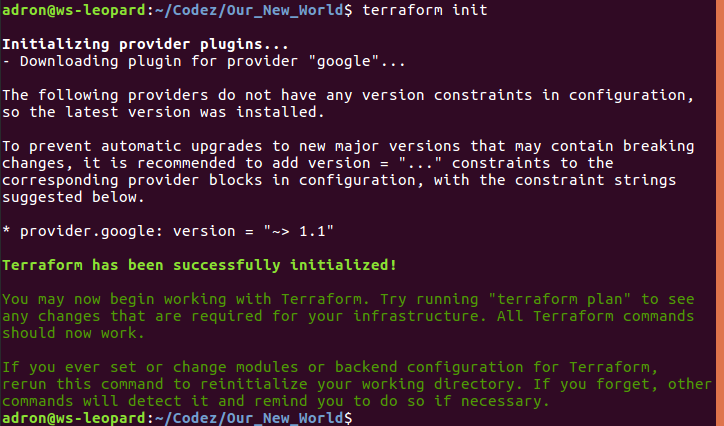
With all that setup I can now run the three commands to get everything built. The first command is terraform init. This is new with the latest releases of Terraform, which pulls down any of the respective providers that a Terraform execution will need. In this particular project it pulls down the GCP Provider. This command only needs to be run the first time before terraform plan or terraform apply are run, if you’ve deleted your .terraform directory, or if you’ve added configuration for something like Azure, Amazon Web Services, or Github that needs a new provider.
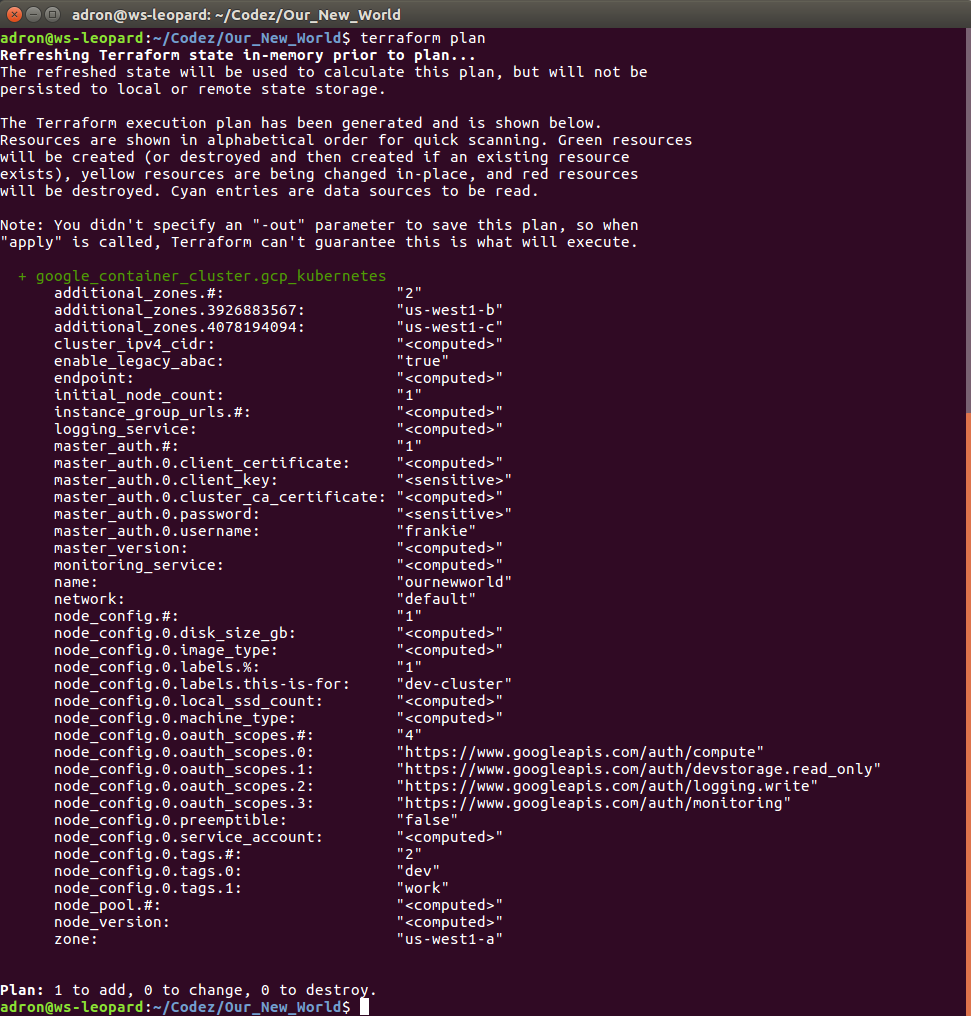
Now to ensure and determine what will be built, I’ll run terraform plan.
Since everything looks good, time to execute with terraform apply. This will display output similar to the terraform plan command but for creating the command, and then you’ll see the countdown begin as it waits for instances to start up and networking to be configured and routed.
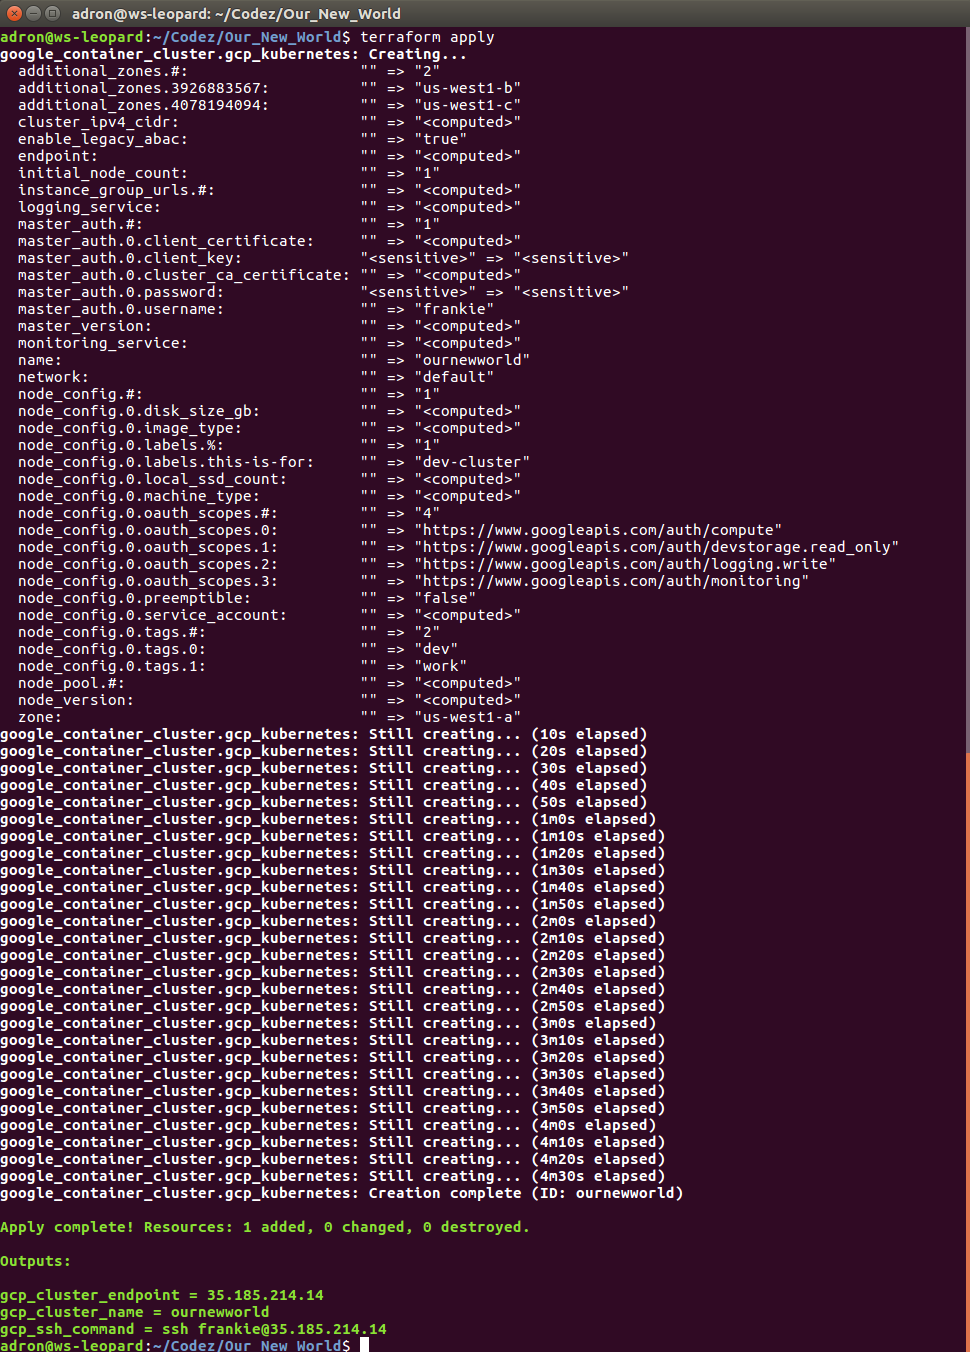
While waiting for this to build you can also click back and forth and watch firewall rules, networking, external IP addresses, and instances start to appears in the Google Cloud Platform Console. When it completes, we can see the results, which I’ll step through here with some added notes about what is or isn’t happening and then wrap up with a destruction of the Kubernetes cluster. Keep reading until the end, because there are some important caveats about things that might or might not be destroyed during clean up. It’s important to ensure you’ve got a plan to review the cluster after it is destroyed to make sure resources and the respective costs aren’t still there.
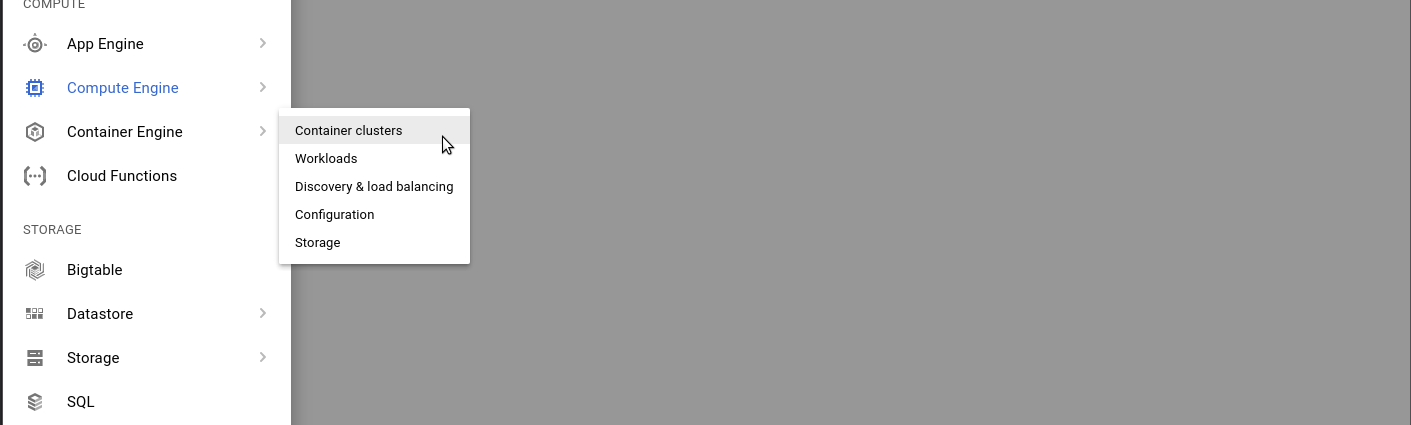
Compute Engine View
In the console click on the compute engine option.
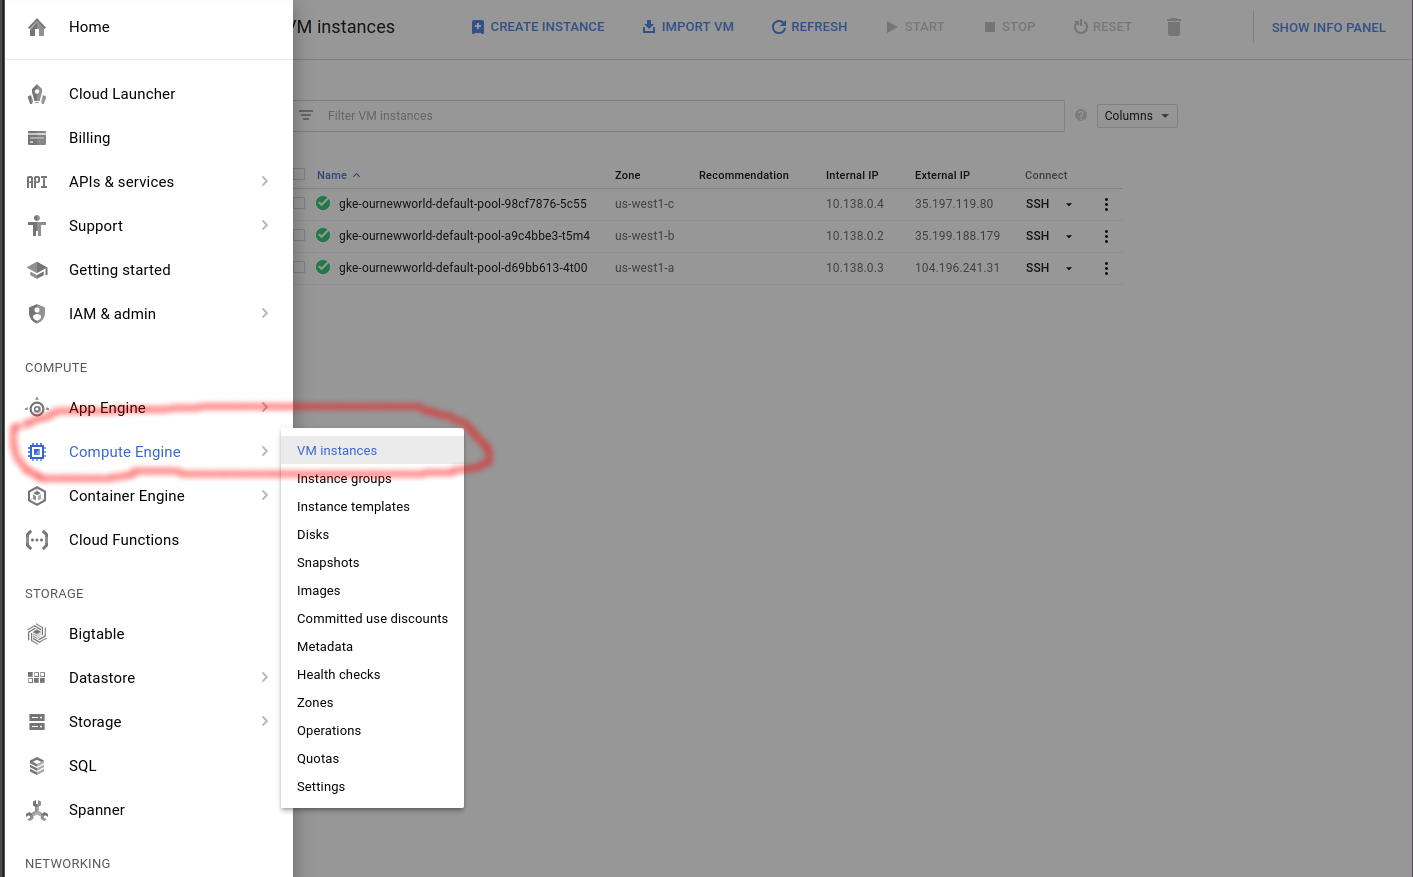
I’ll start with the Compute Engine view. I can see the individual virtual machine instances here and their respective zones.
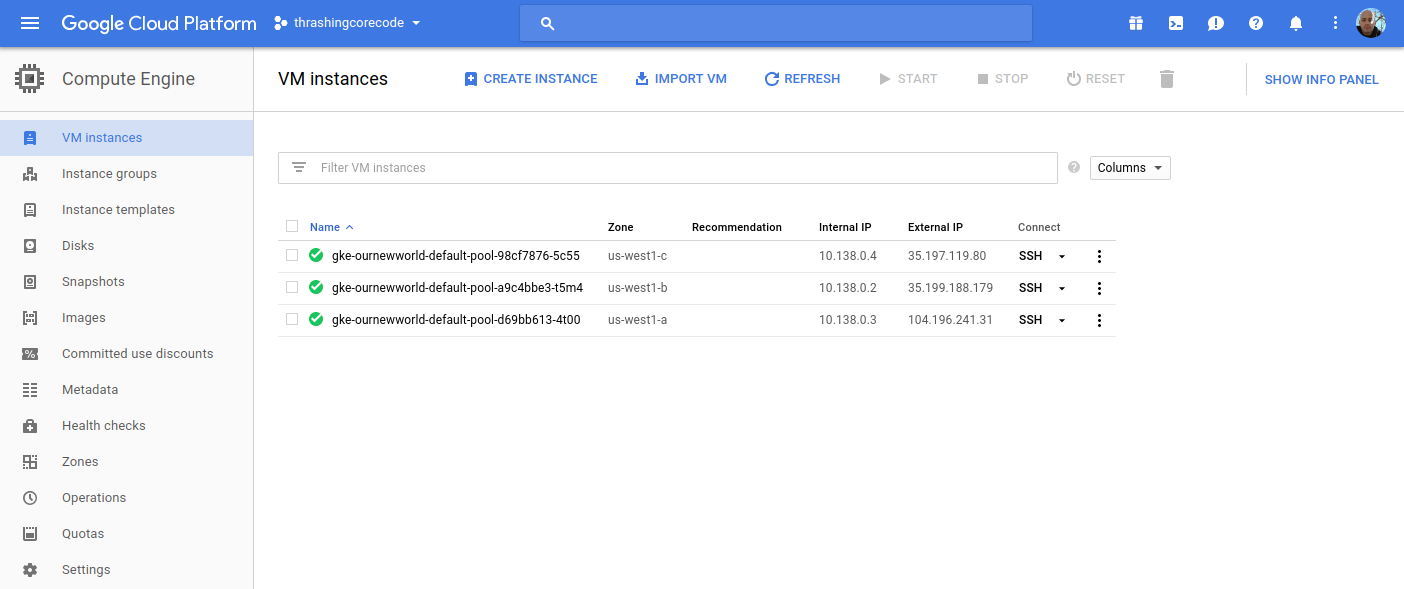
Looking at the Terraform file confiugration I can see that the initial zone to create the cluster in was used, which is us-west1-a inside the us-west1 region. The next two instances are in the respective additional_zones that I marked up in the Terraform configuration.
additional_zones = [
  "us-west1-b",
  "us-west1-c",
]
You could even add additional zones here too. Terraform during creation will create an additional virtual machine instance to add to the Kubernetes cluster for each increment that initial_node_count is set to. Currently I set mine to a variable so I could set it and other things in my terraform.tfvars file. Right now I have it set to 1 so that one virtual machine instance will be created in the initial zone and in each of the designated additional_zones.
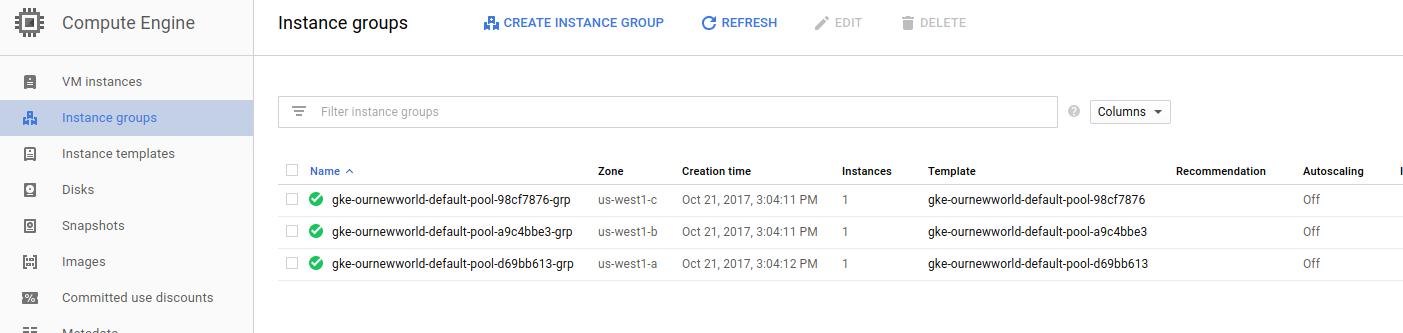
Beyond the VM instances view click on the Instance groups, Instance templates, and Disks to seem more items setup for each of the instances in the respective deployed zones.
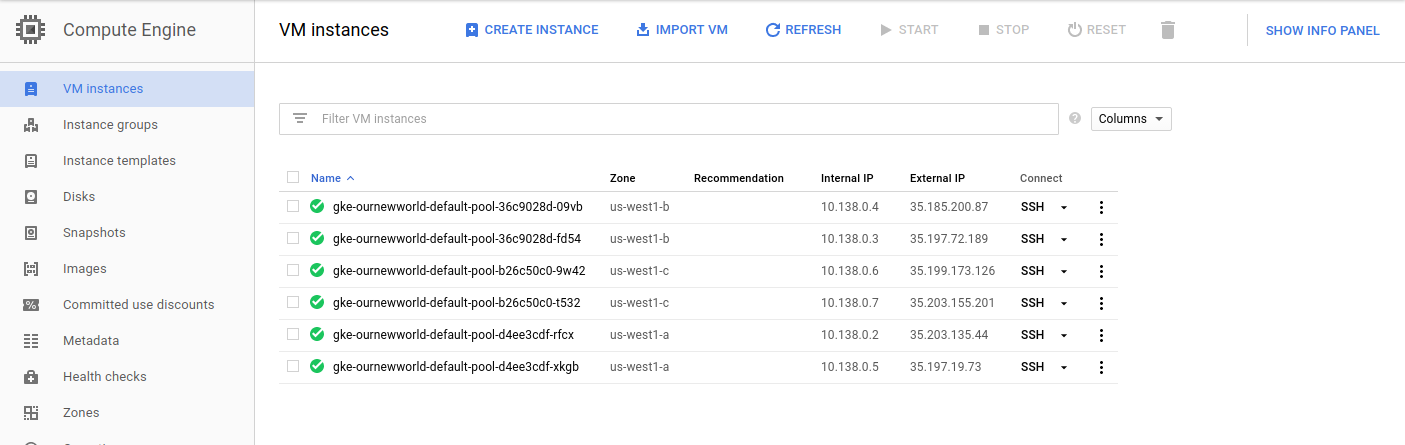
If I bump my virtual machine instance count up to 2, I get 6 virtual machine instances. I did this, and took a screenshot of those instances running. You can see that there are two instances in each zone now.
Instance groups
Note that an instance group is setup for each zone, so this group kind of organizes all the instances in that zone.
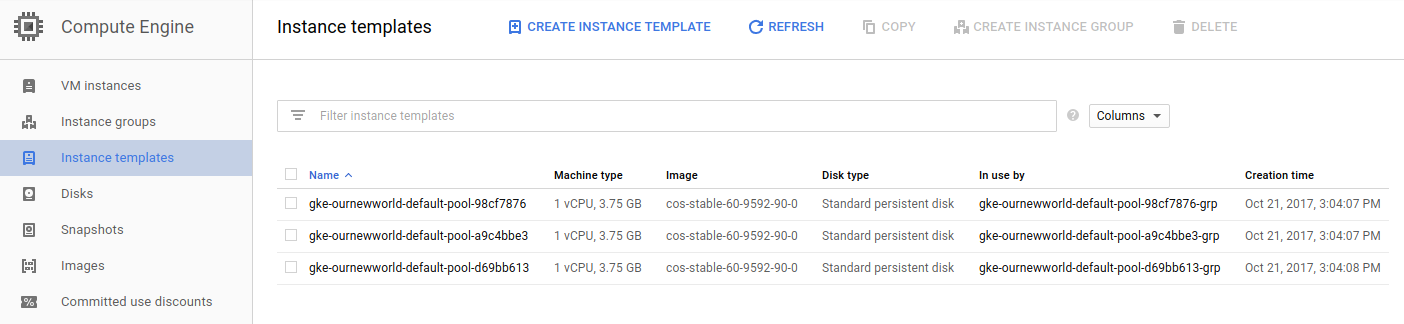
Instance Templates
Like the instance groups, there is one template per zone. If I setup 1 virtual machine instance or 10 in the zone, I’ll have one template that describes the instances that are created.

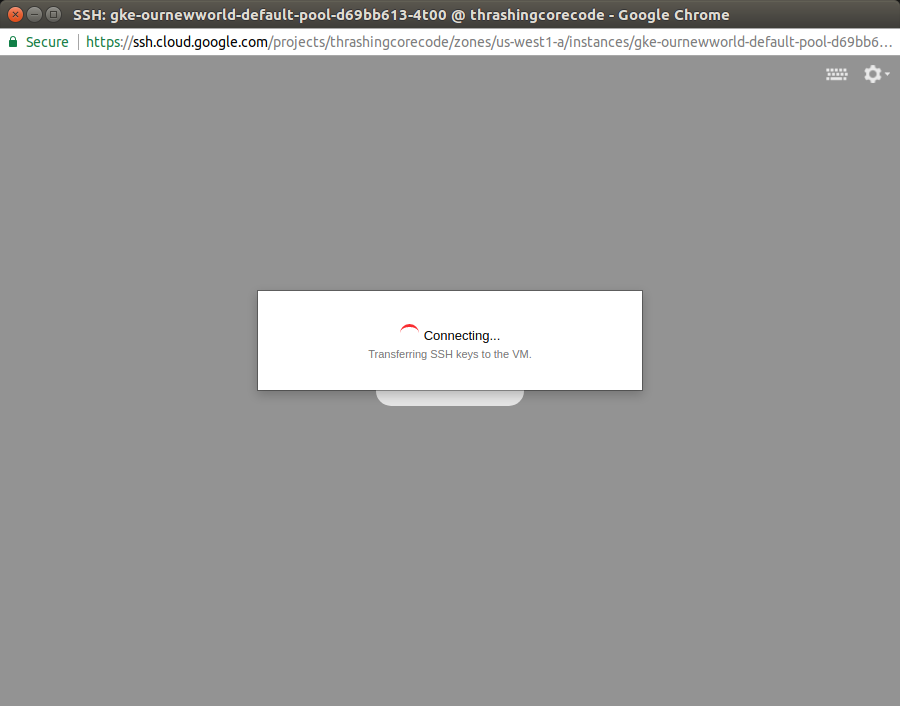
To SSH into any of these virtual machine instances, the easiest way is to navigate into one of the views for the instances, such as under the VM instances section, and click on the SSH button for the instance.
Then a screen will pop up showing the session starting. This will take 10-20 seconds sometimes so don’t assume it’s broken. Then a browser based standard looking SSH terminal will be running against the instance.
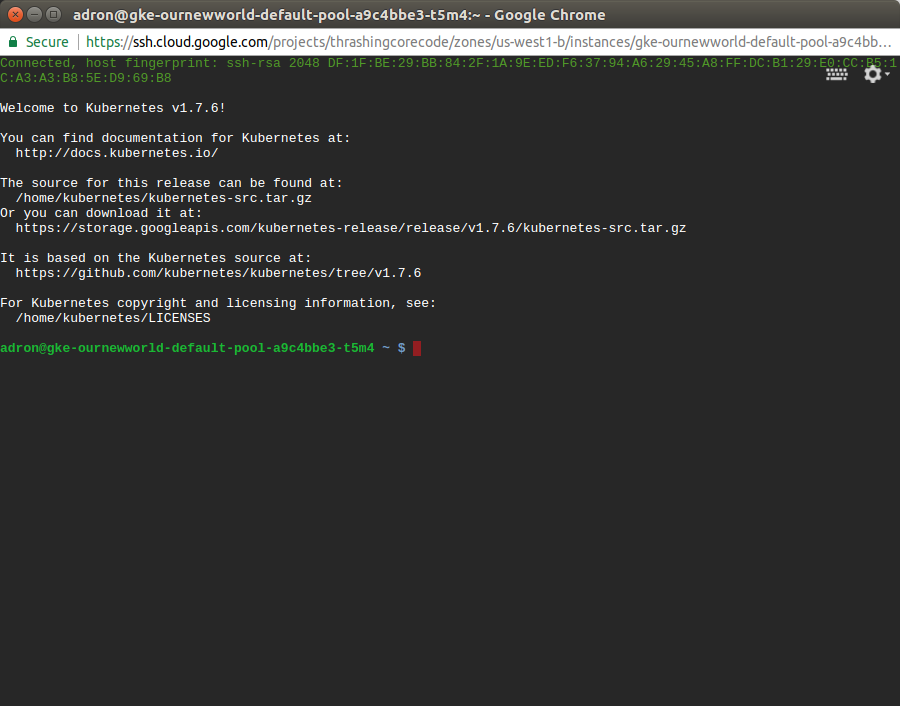
This comes in handy if any of the instances ends up having issues down the line. Of all the providers GCP has made connecting to instances and such with this and tools like gcloud extremely easy and quick.
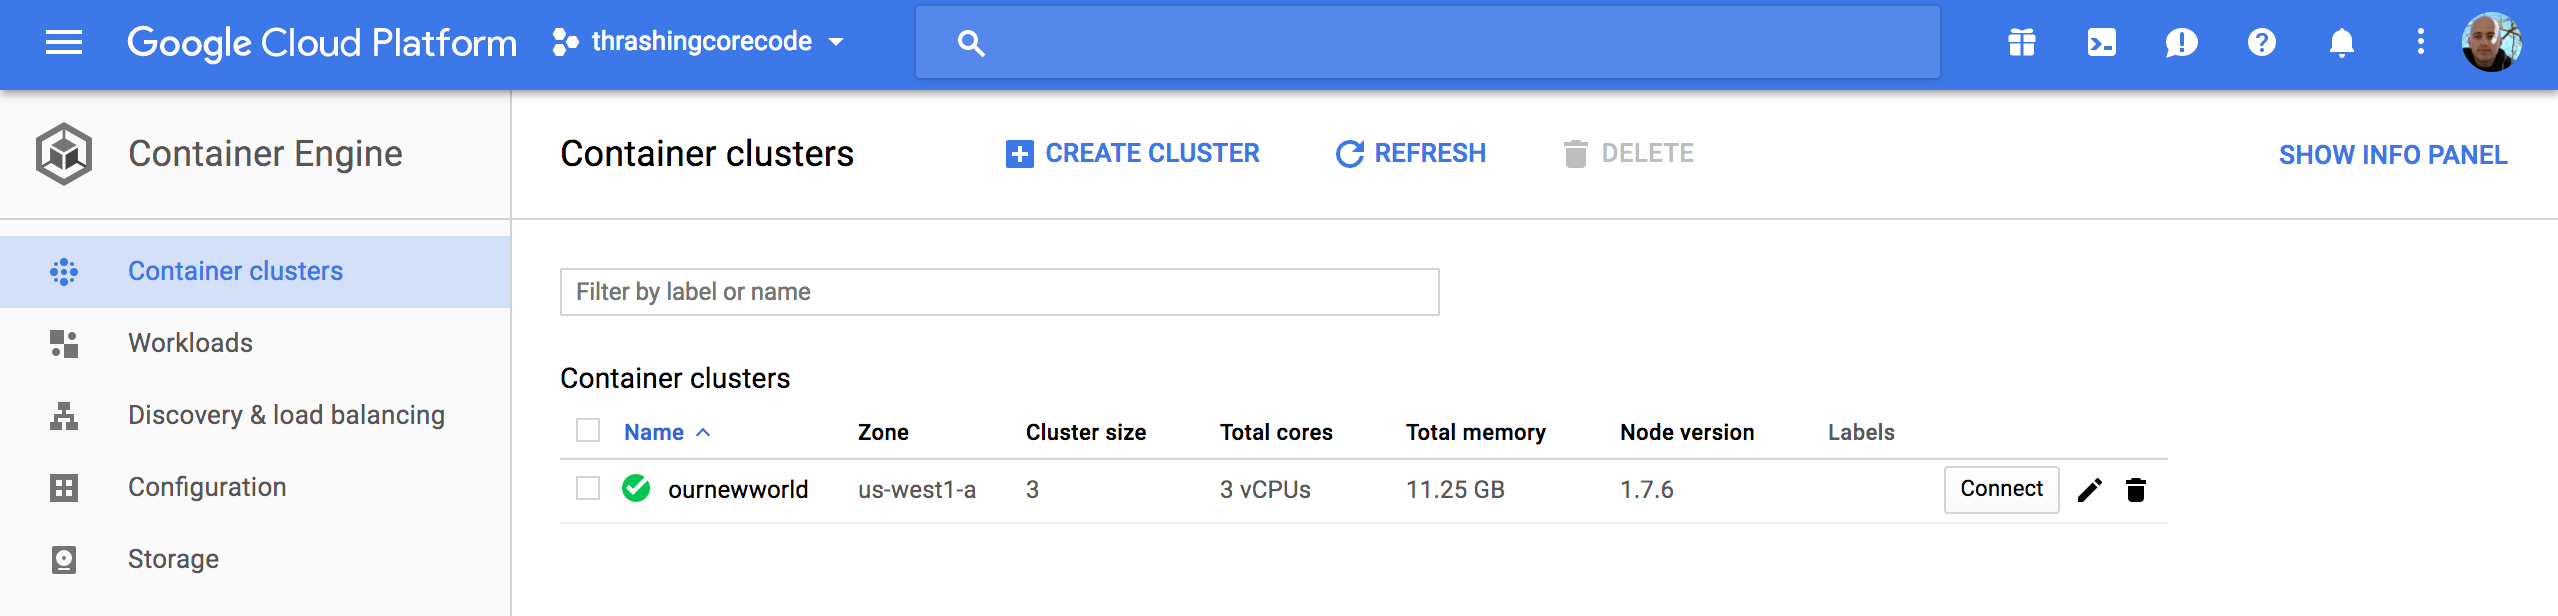
Container Engine View
In this view we have cluster specific information to check out.
Once the cluster view comes up there sits the single cluster that is built. If there are additional, they display here just like instances or other resources on other screens. It’s all pretty standard and well laid out in Google Cloud Platform fashion.
The first thing to note, in my not so humble opinion, is the Connect button. This, like on so many other areas of the console, has immediate, quick, easy ways to connect to the cluster.
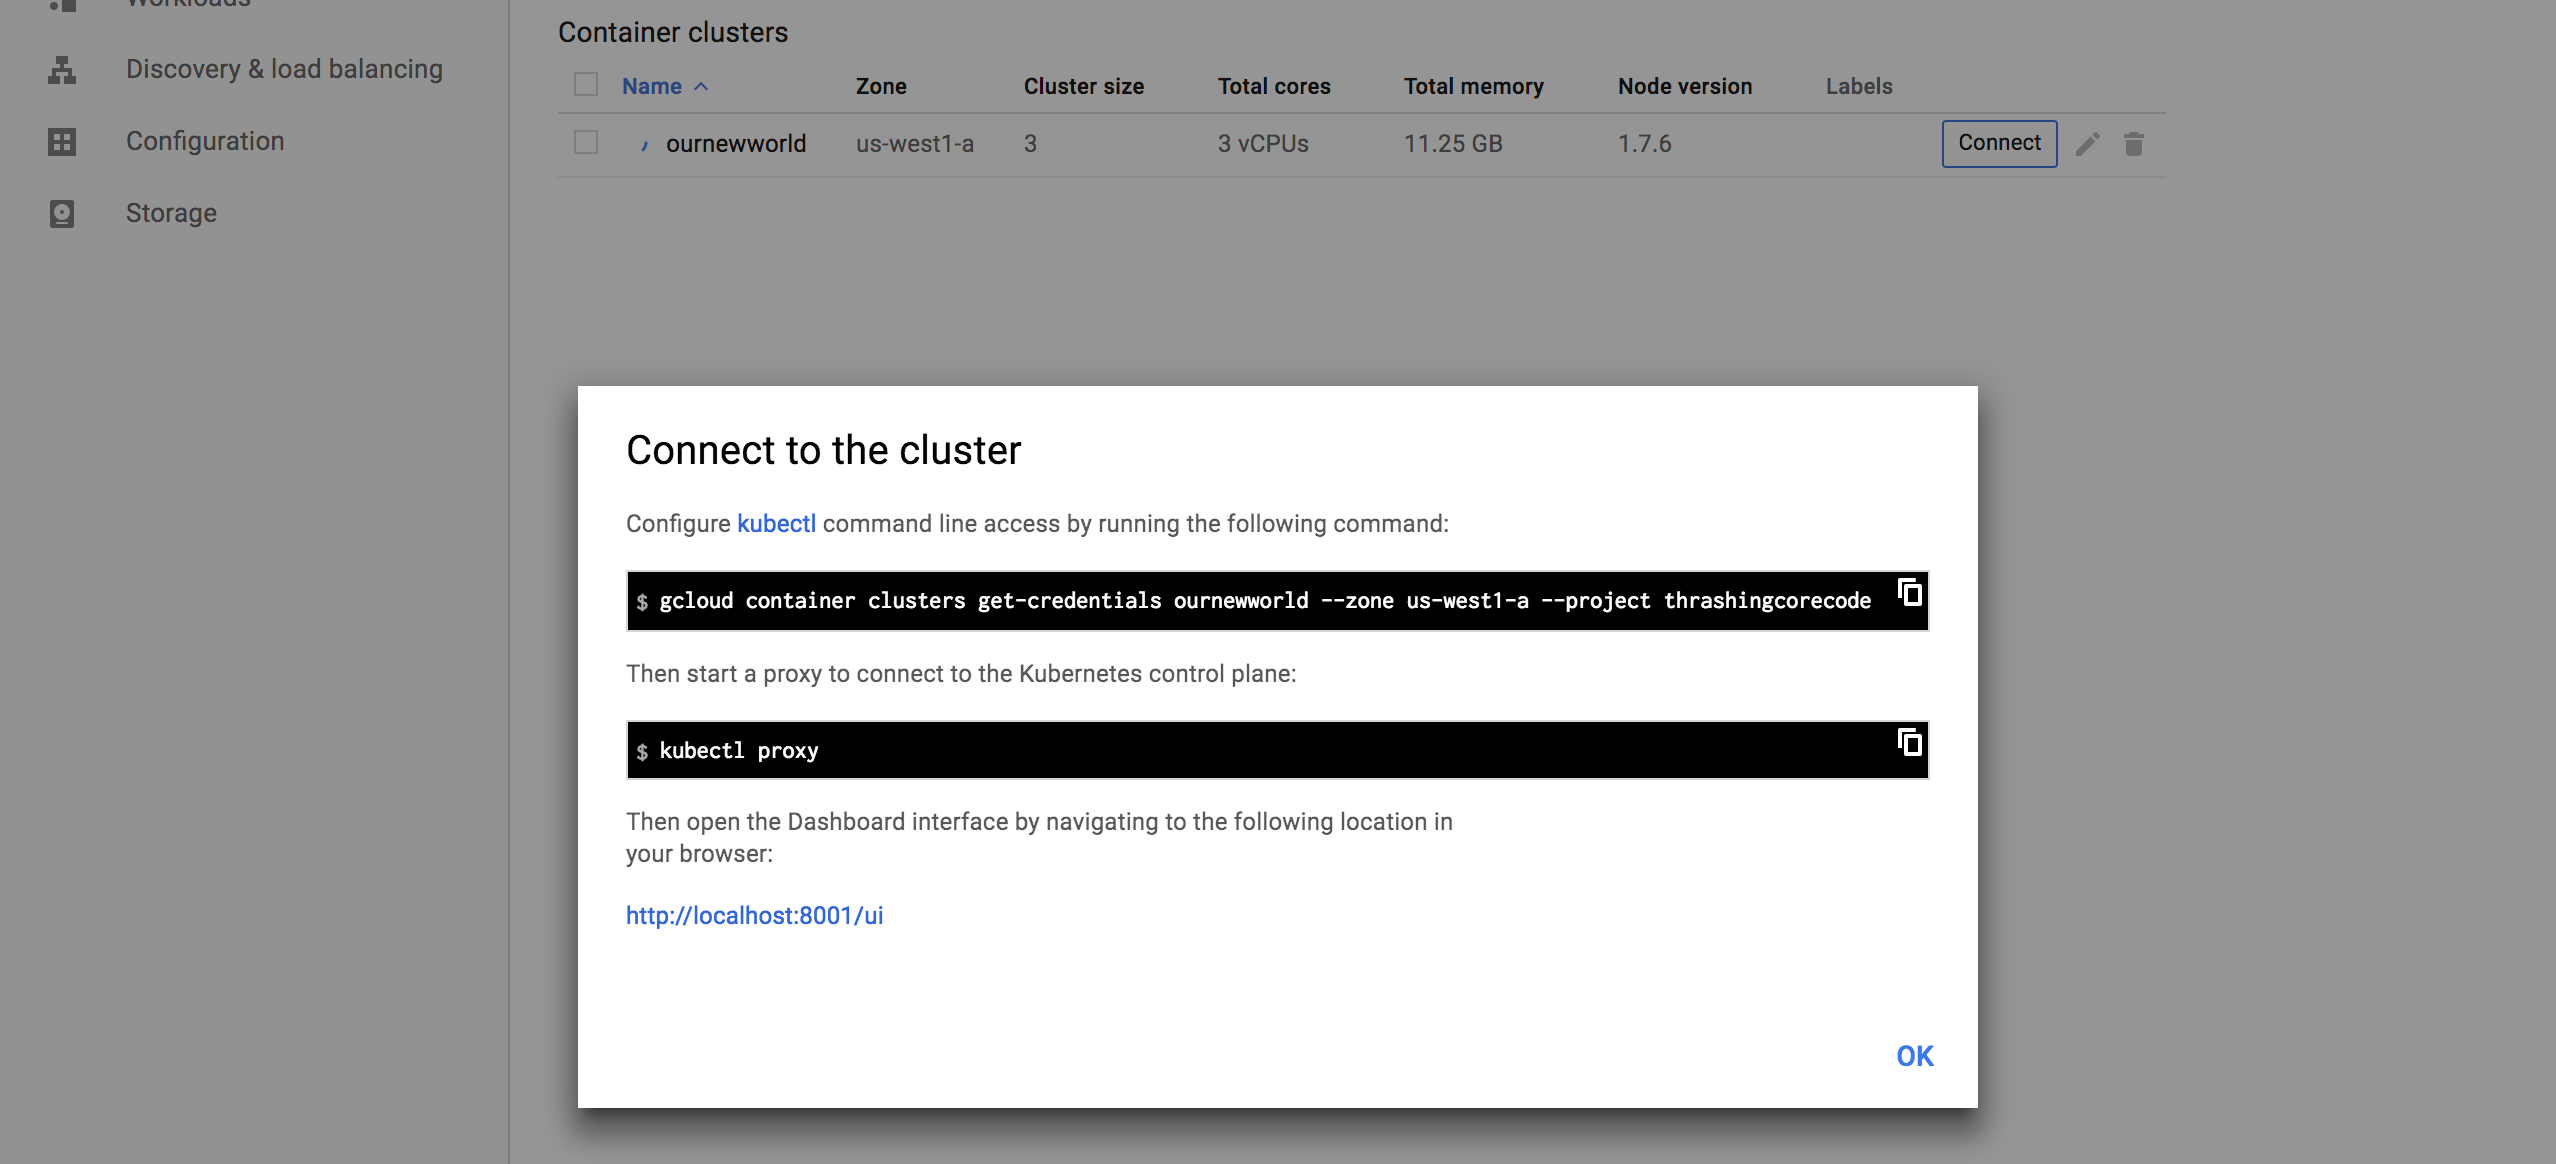
Gaining access to the cluster that is now created with the commands available is quick. The little button in the top right hand corner copies the command to the copy paste buffer. The two commands execute as shown.
gcloud container clusters get-credentials ournewworld --zone us-west1-a --project thrashingcorecode
and then
kubectl proxy

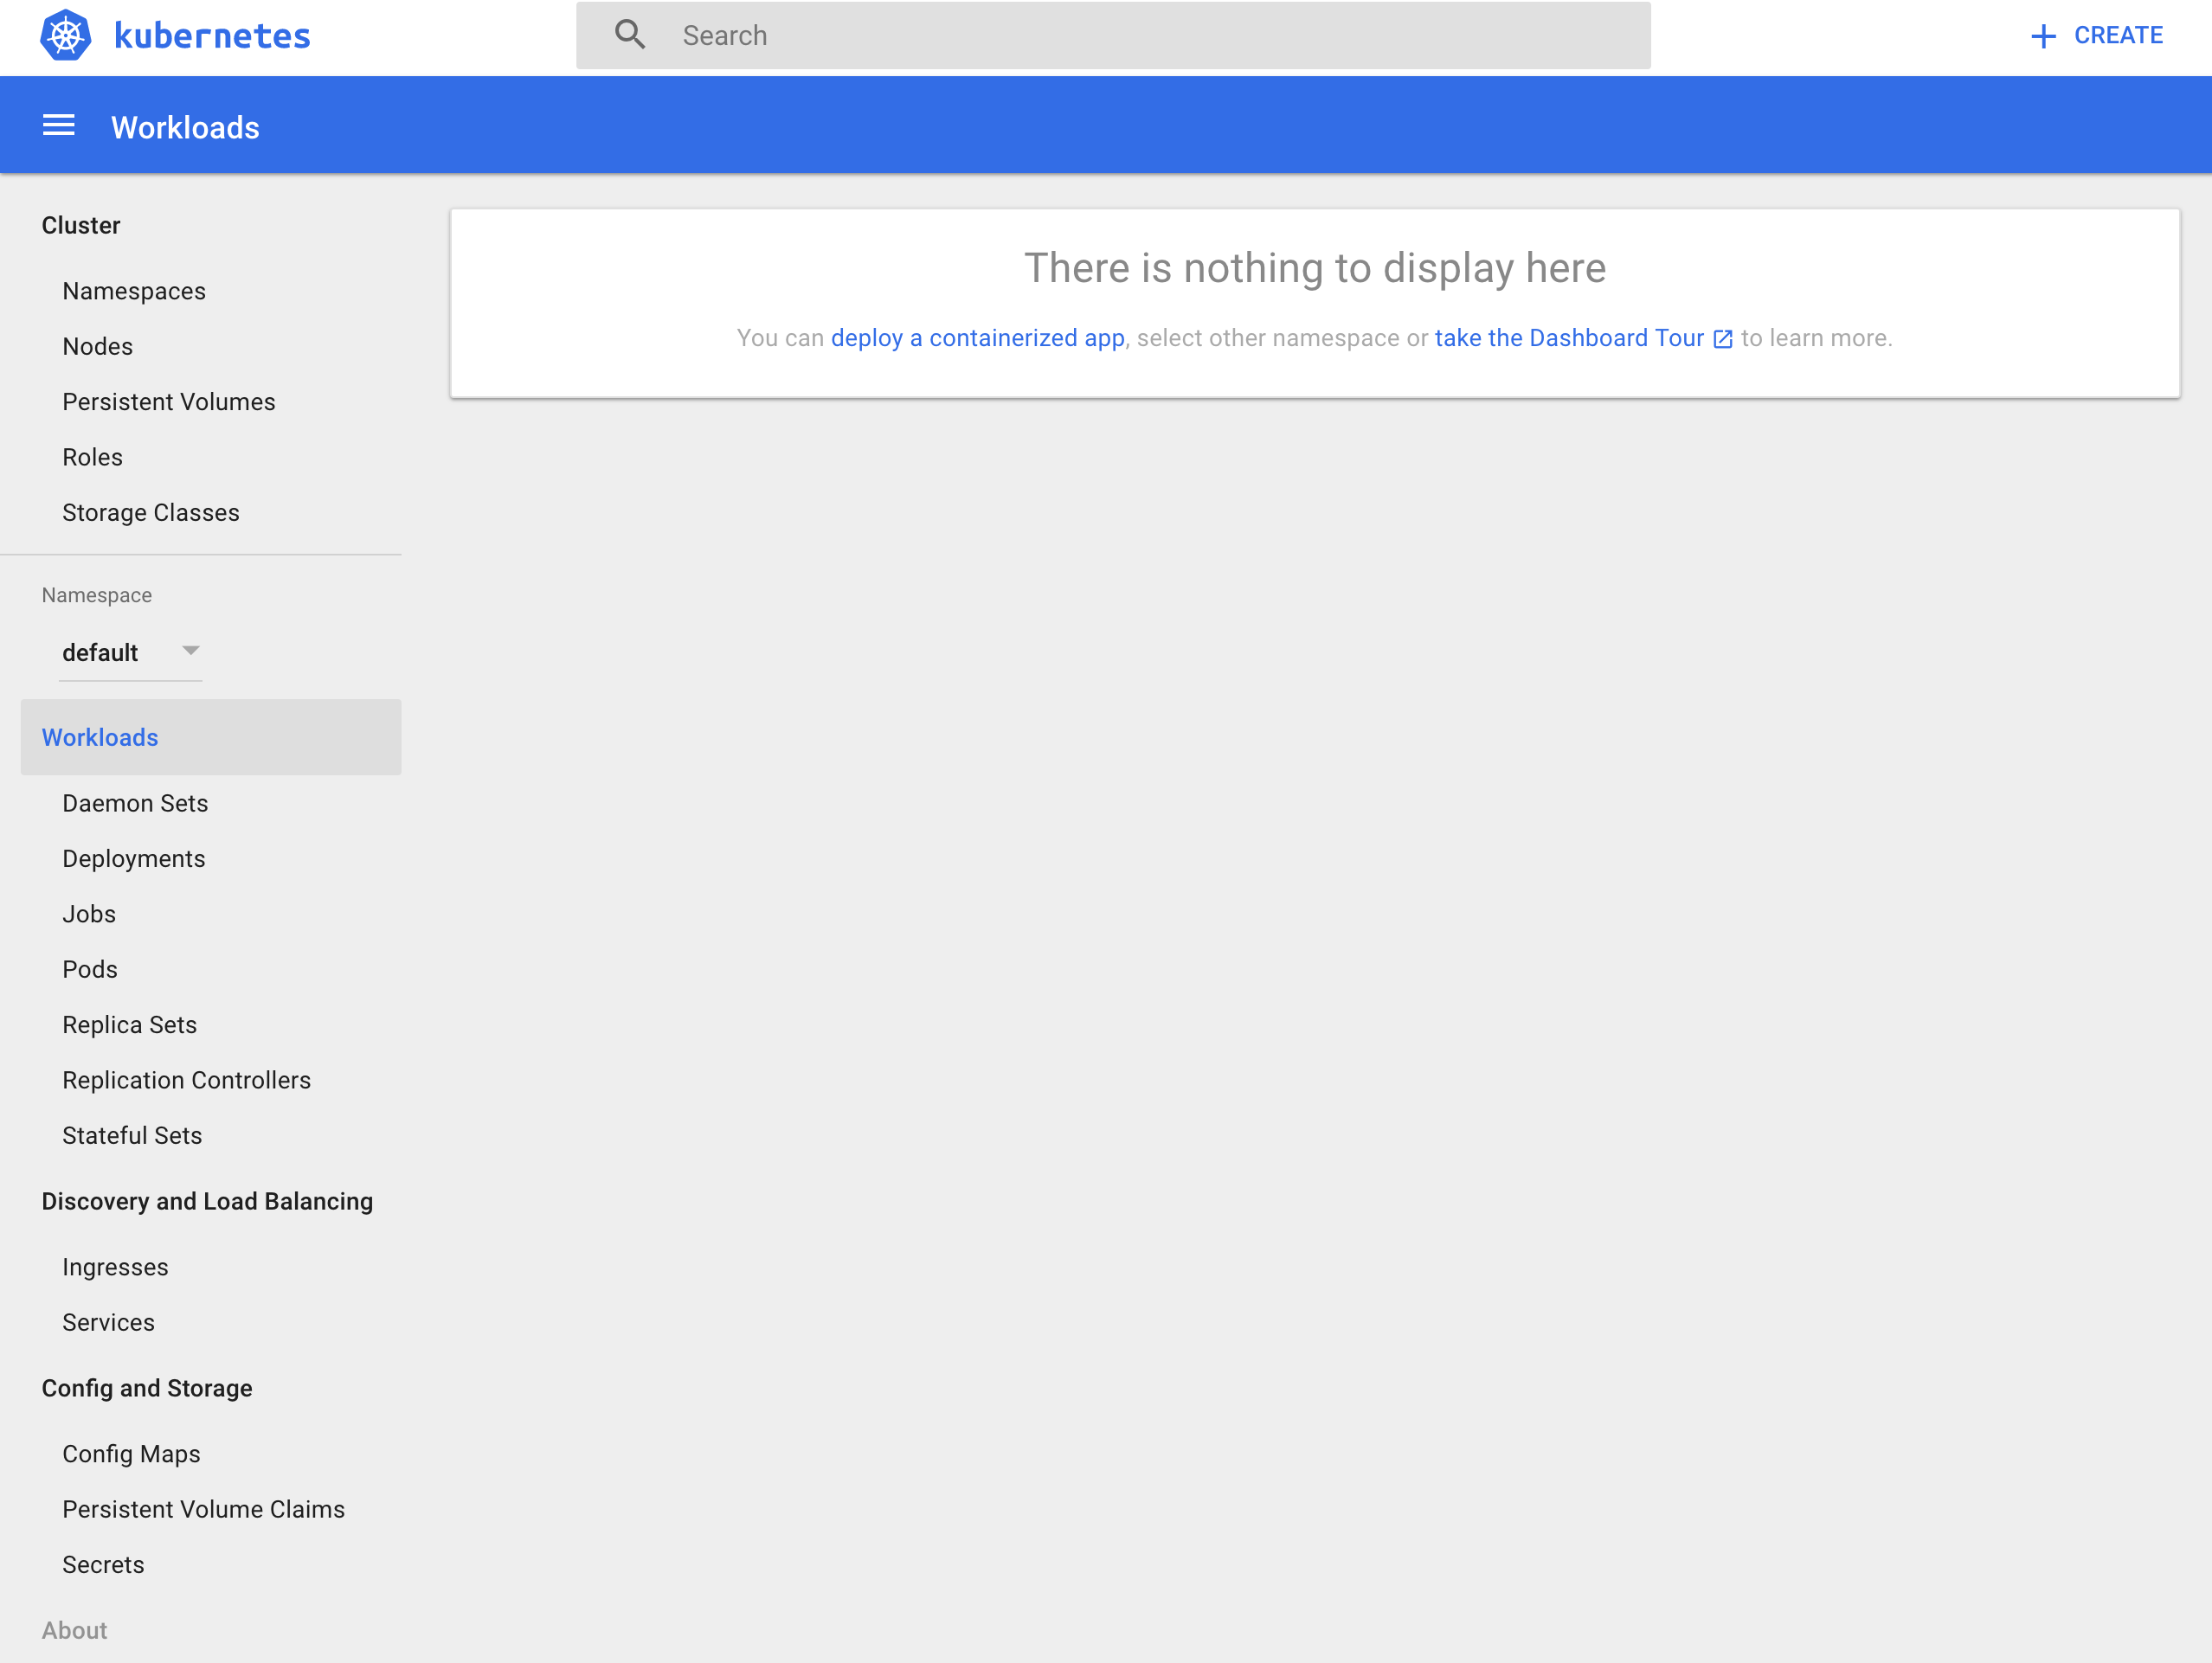
With the URI posted after execution of kubectl proxy I can check out the active dashboard rendered for the container cluster at 127.0.0.1:8001/ui.
IMPORTANT NOTE: If the kubectl version isn’t up to an appropriate parity version with the server then it may not render this page ok. To ensure that the version is at parity, run a kubectl version to see what versions are in place. I recently went through troubleshooting this scenario which rendered a blank page. After trial and error it came down to version differences on server and client kubectl.
I’ll dive into more of the dashboard and related things in a later post. For now I’m going to keep moving forward and focus on the remaining resources built, in networking.
VPC Network
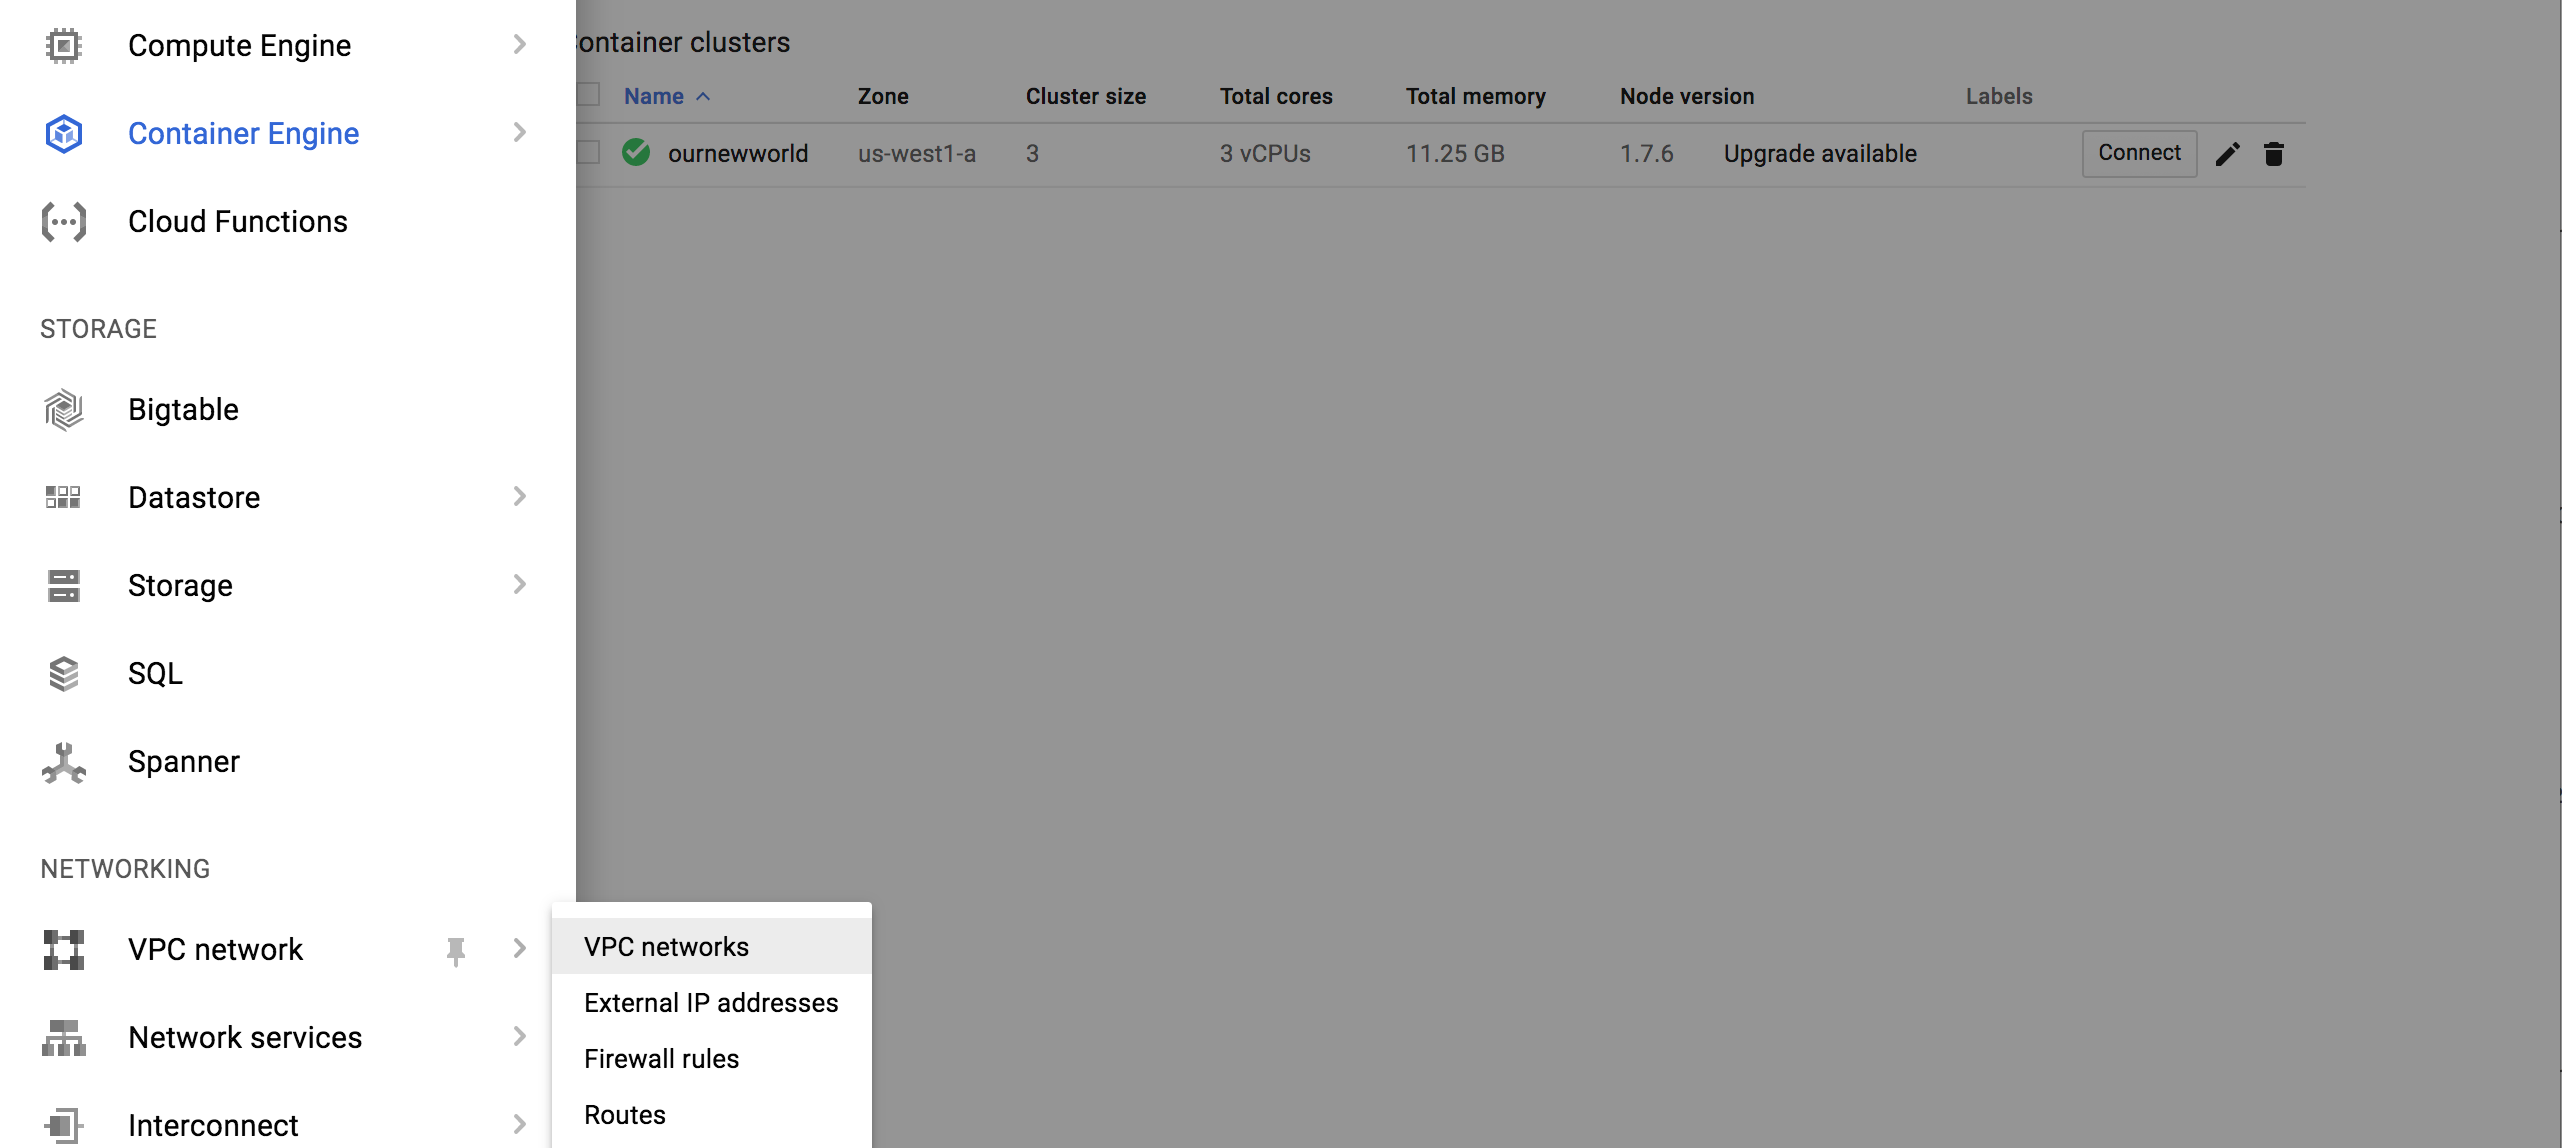
Once the networking view renders there are several key tabs on the left hand side; External IP addresses, Firewall rules, and Routes.

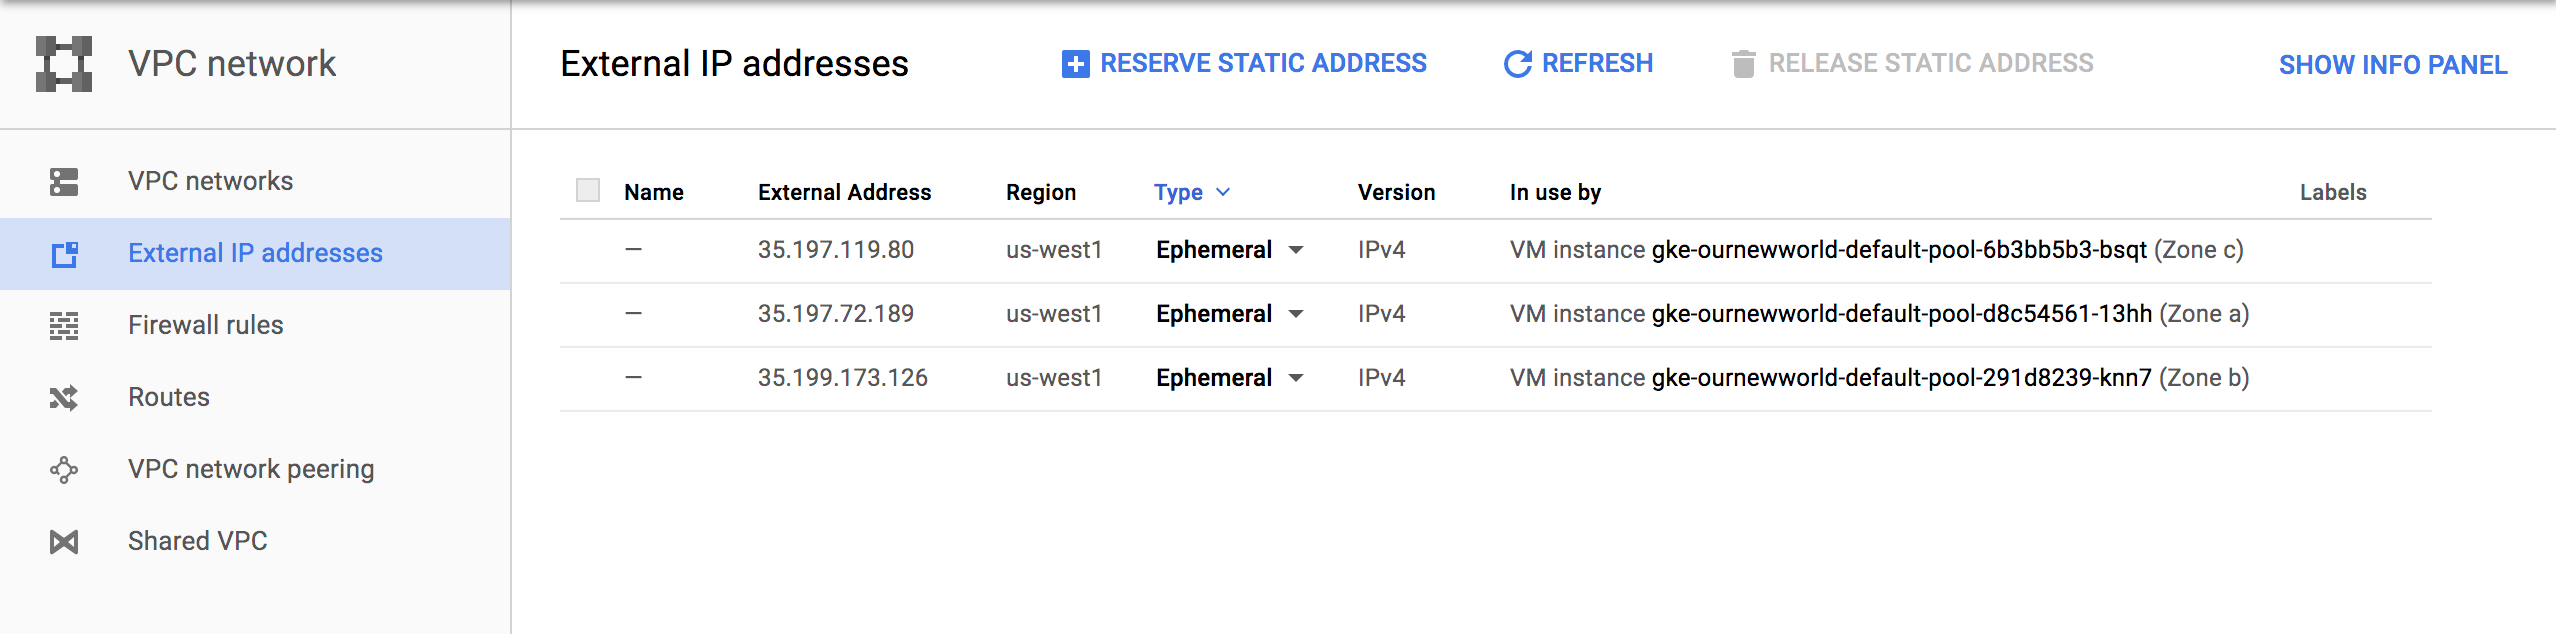
External IP Addresses
Setting and using external IP addresses allow for routing to the various Kubernetes nodes. Several ephemeral IP addresses are created and displayed in this section for each of the Kubernetes nodes. For more information check out the documentation on reserving a static external IP address and reserving an internal IP address.
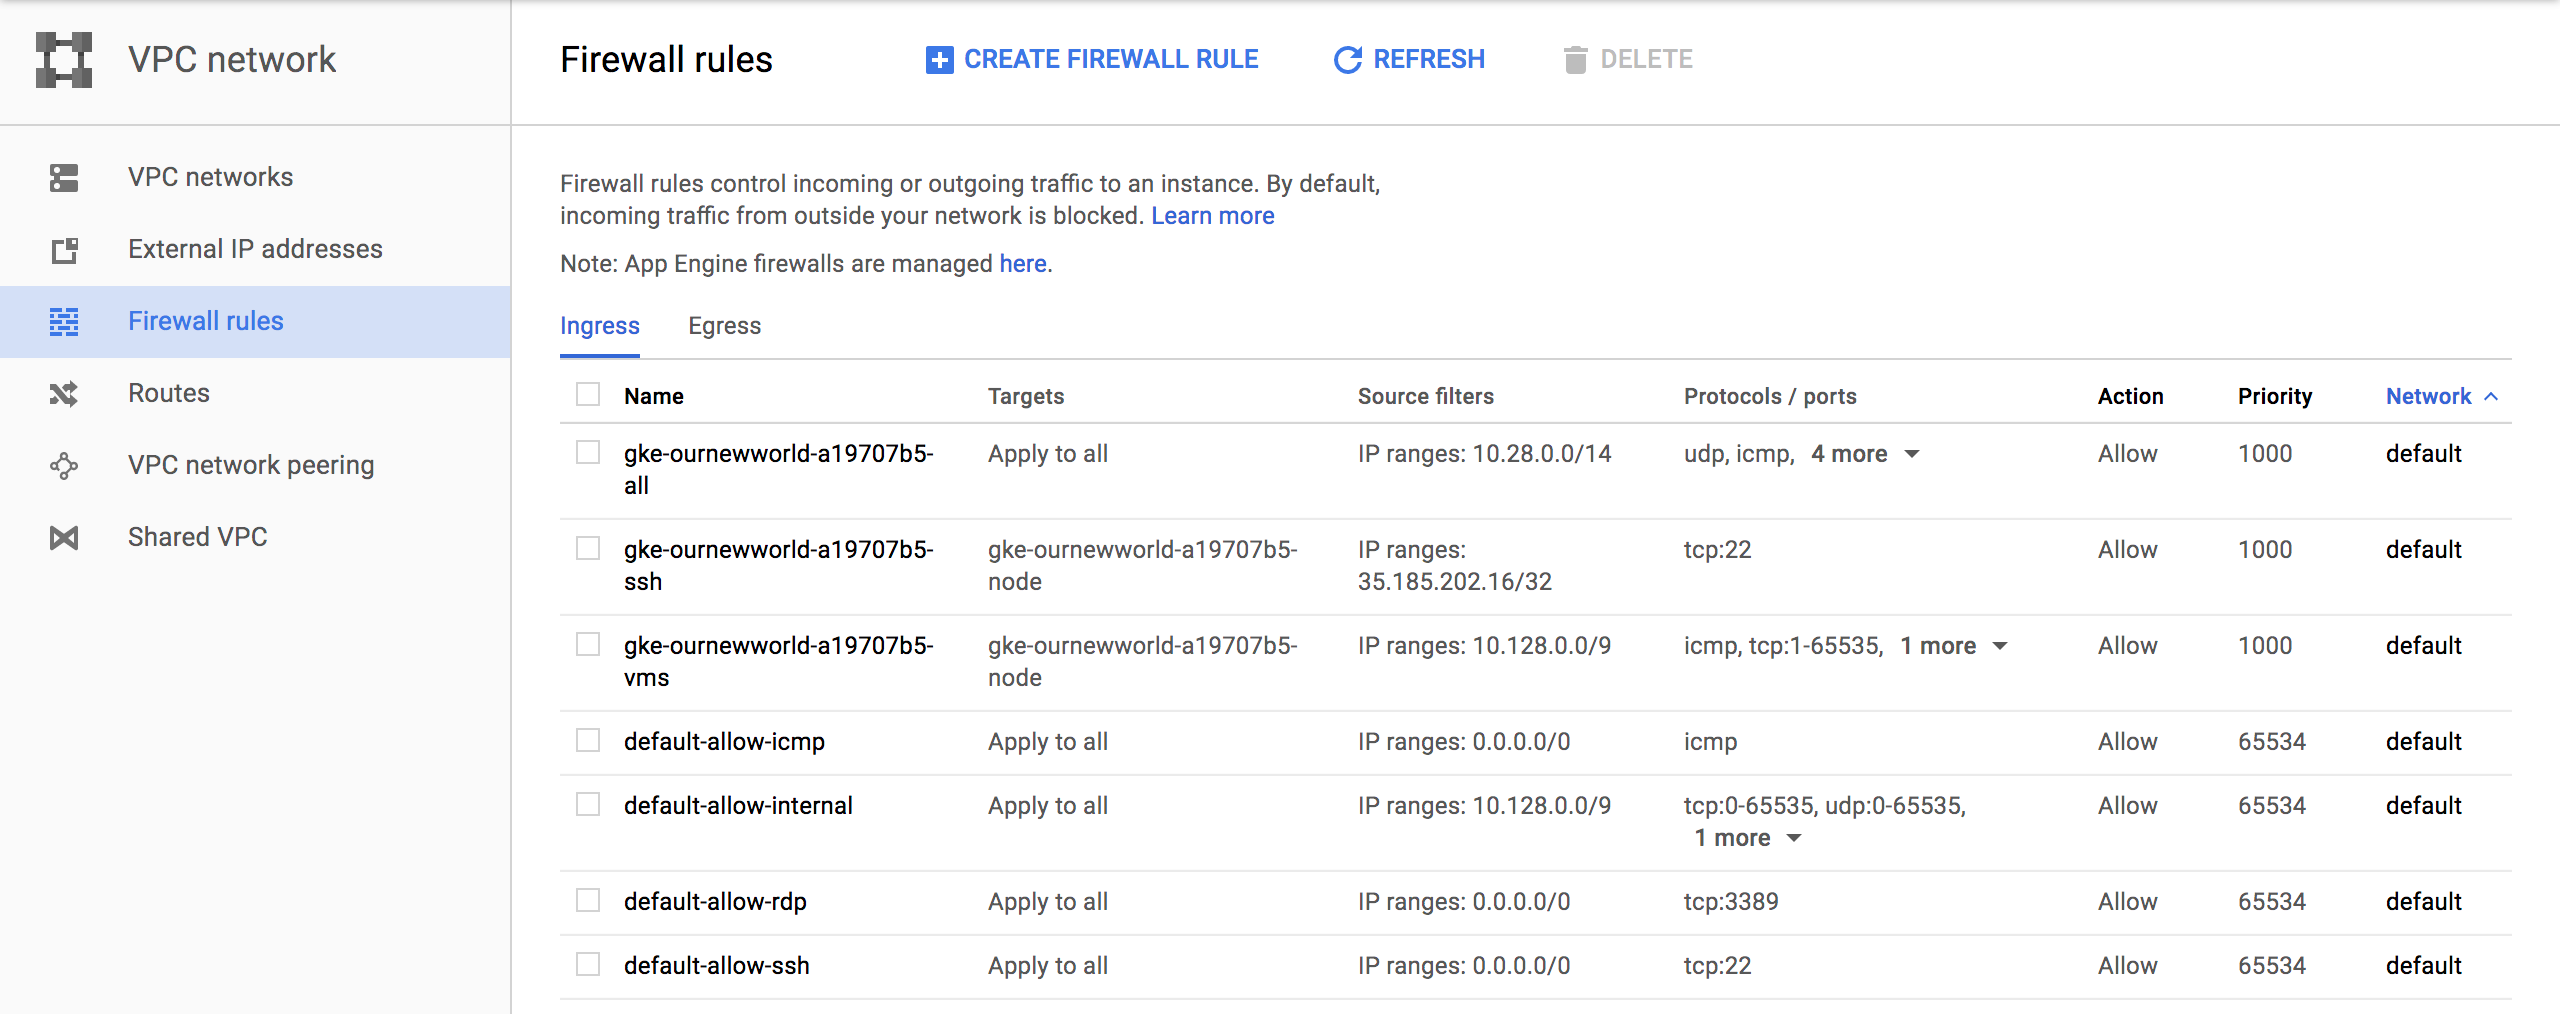
Firewall Rules
In this section there are several new rules added for the cluster. For more information specific to GCP firewall rules check out the documentation about firewall rules.
Routes
Routes are used to setup paths mapping an IP range to a destination. Routes setup a VPC Networks where to send packets for a particular IP address. For more information about documentation route details.
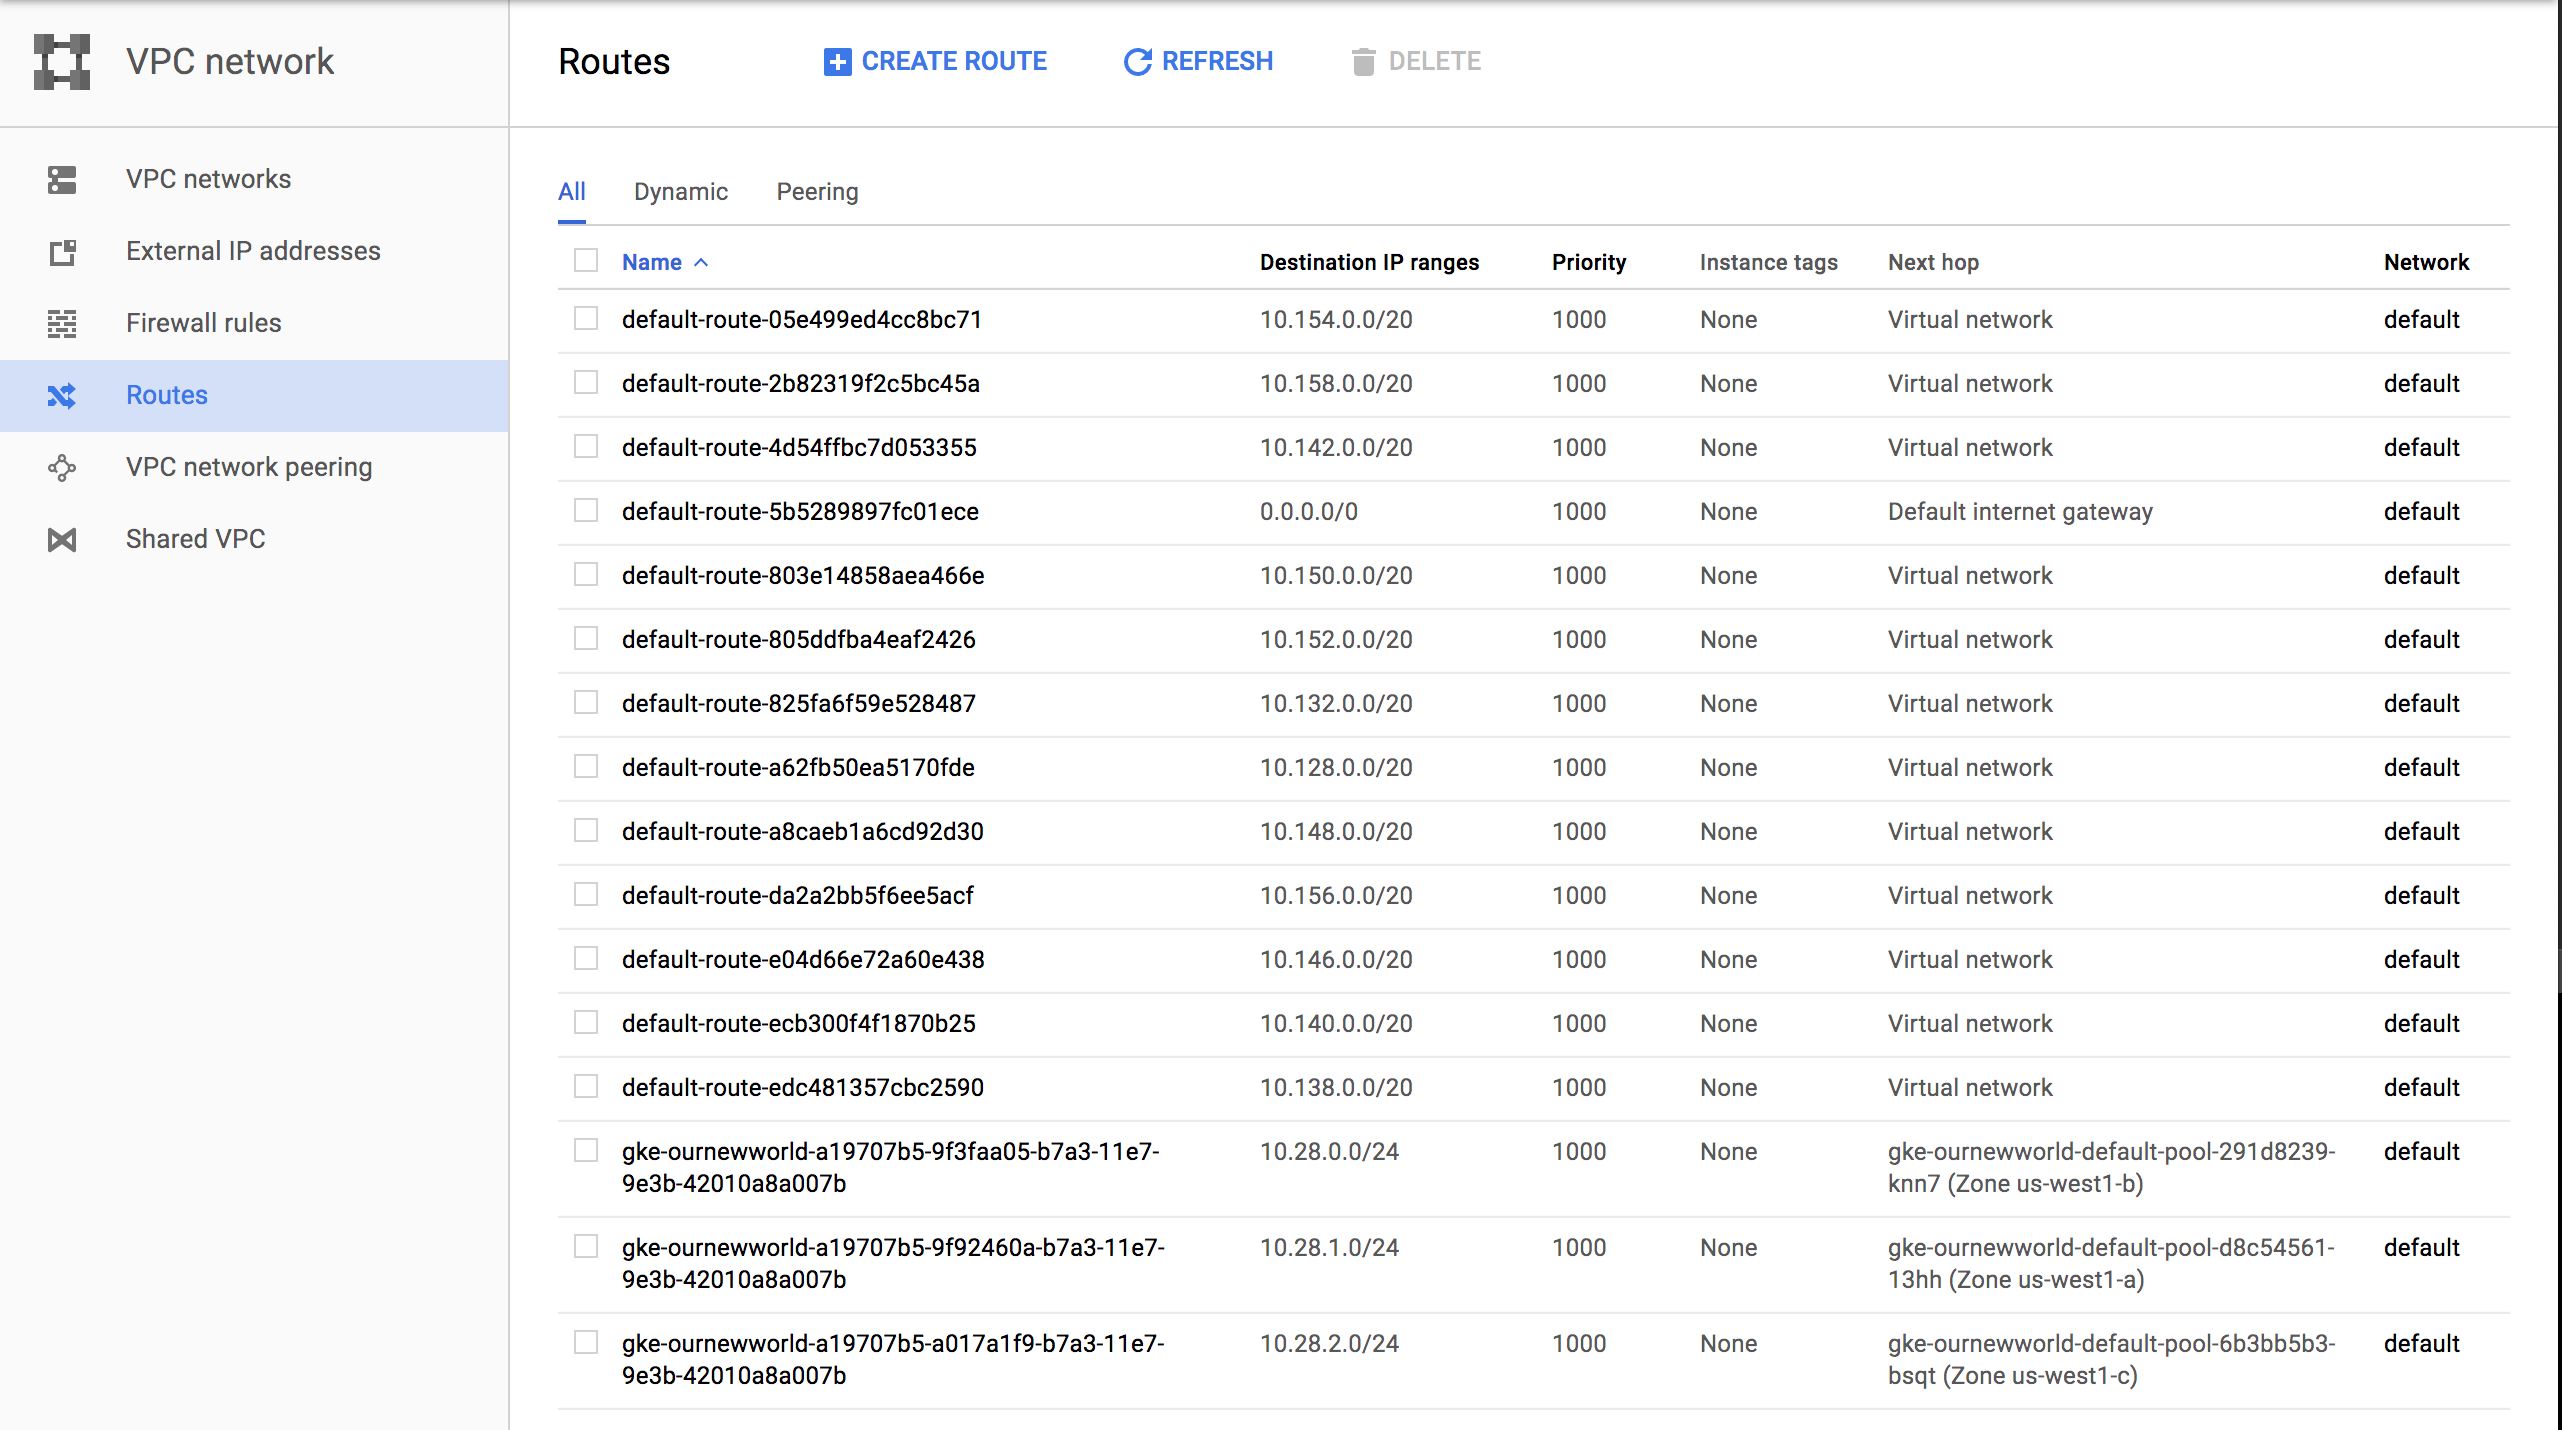
Each of these sections have new resources built and added as shown above. More than a few convention based assumptions are made with Terraform.
Next steps…
In my next post I’ll dive into some things to setup once you’ve got your Kubernetes cluster. Setting up users, getting a continuous integration and delivery build started, and more. I’ll also be writing up another entry, similar to this for AWS and Azure Cloud Providers. If you’d like to see Kubernetes setup and a tour of the setup with Terraform beyond the big three, let me know and I’ll add that to the queue. Once we get past that there are a number of additional Kubernetes, containers, and dev specific posts that I’ll have coming up. Stay tuned, subscribe to the blog feed or follow @ThrashingCode for new blog posts.
Resources:


